
The Categories allow survey creators to define categories like location, preference, or role when setting up a survey. Upon completion of the survey, the feature allows for the aggregation of data not just as a whole but segmented according to these categories. This means that survey creators can filter the results based on these categories to analyze how different groups of respondents answered the survey. This article will demonstrate the process of creating and managing Categories.
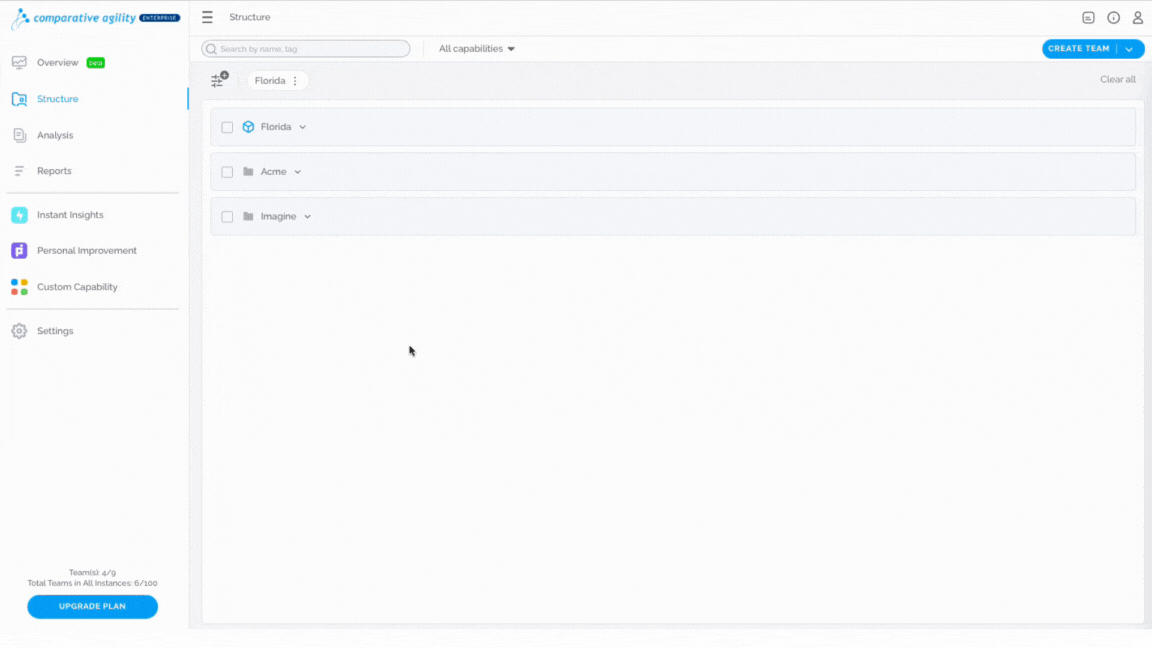
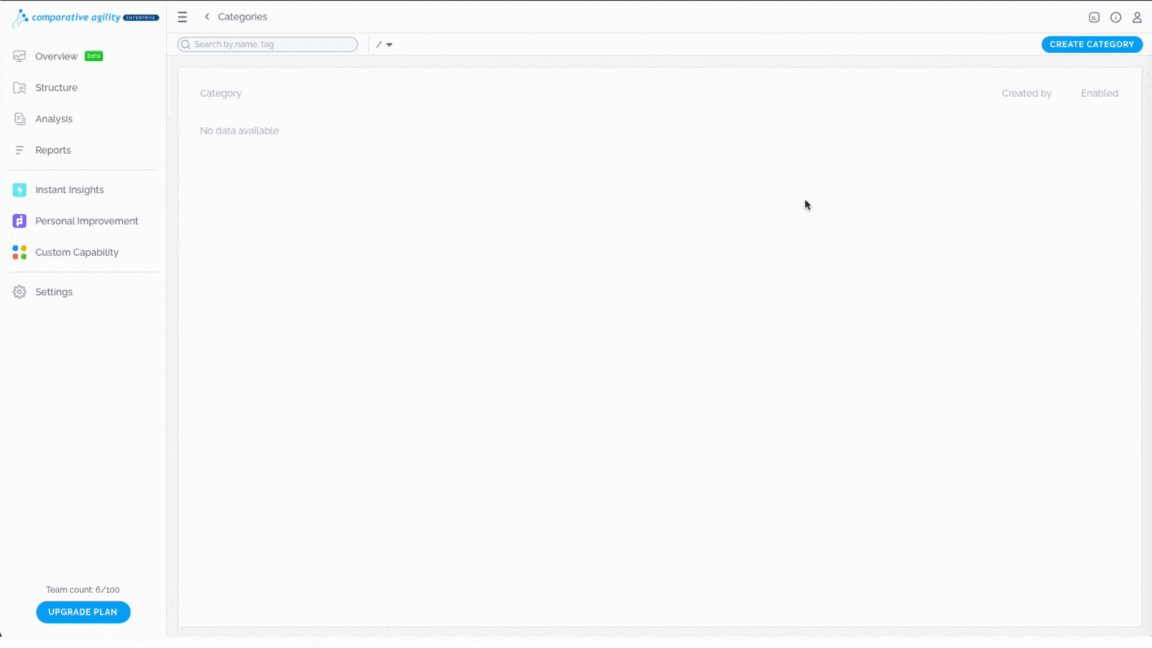
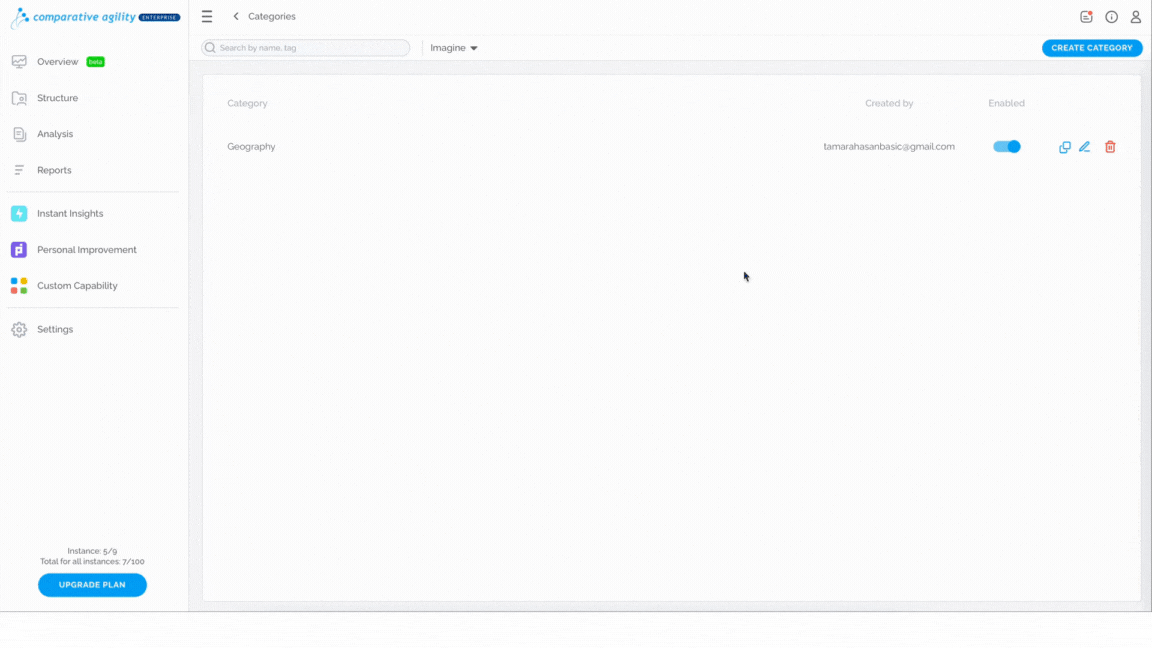
Navigating to the Data Categorization screen
- Open Settings
- Click on Data Categorization
The video below shows you how to navigate to the Data Categorization screen
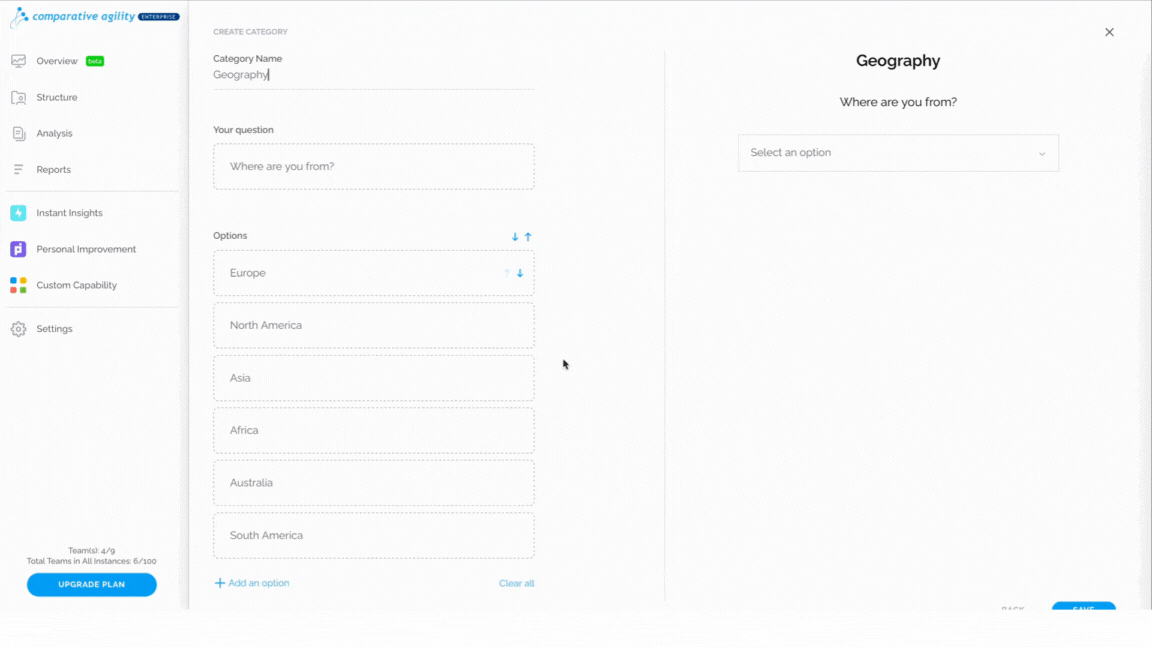
Create category
To create a new category, simply:
- Click on Create Category
- Type in the name
- Add your question
- Fill out the options that participants can choose from
- Click on Add an option to include more fields
- In case you would like to delete an option, click on the Remove Answer icon
- Click on Save
Note: On the right side of your display, you can preview the appearance of your category within the survey.
In the short video below we show you how to create a category and save it
Additionally, you can sort the existing options by choosing between Sort A-Z or Sort Z-A.
The short video below shows you how to sort the existing options
Including category in a survey
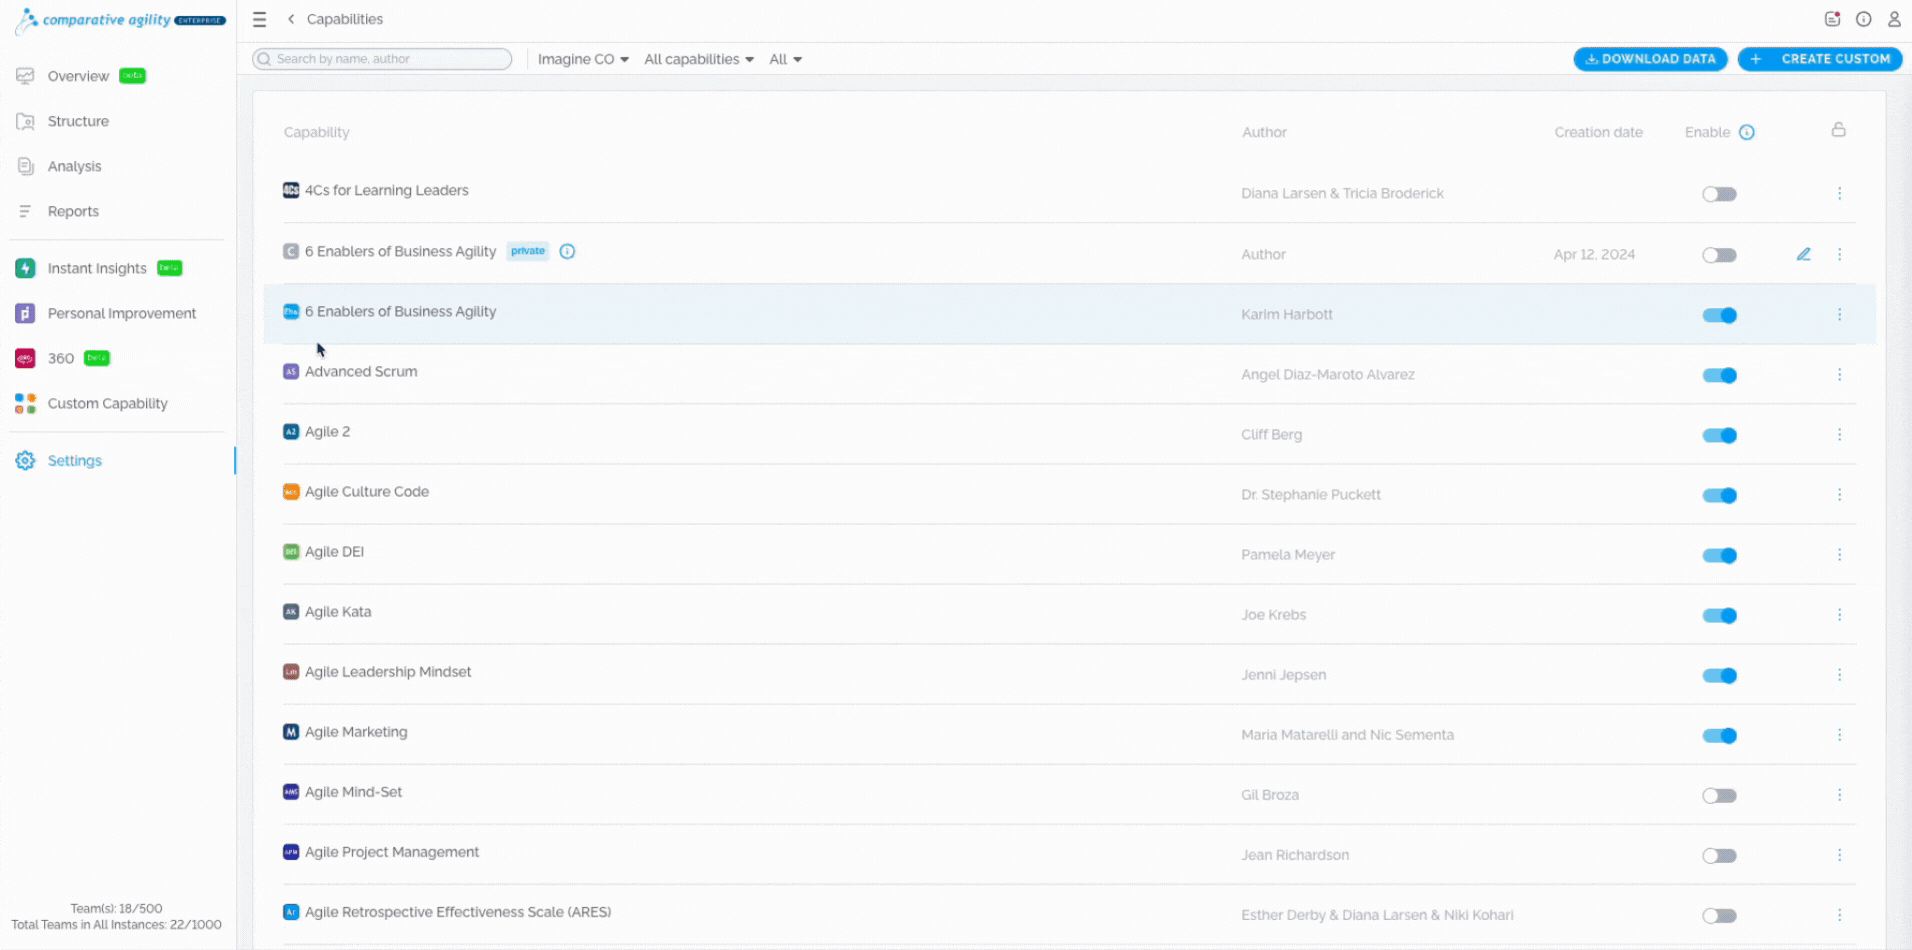
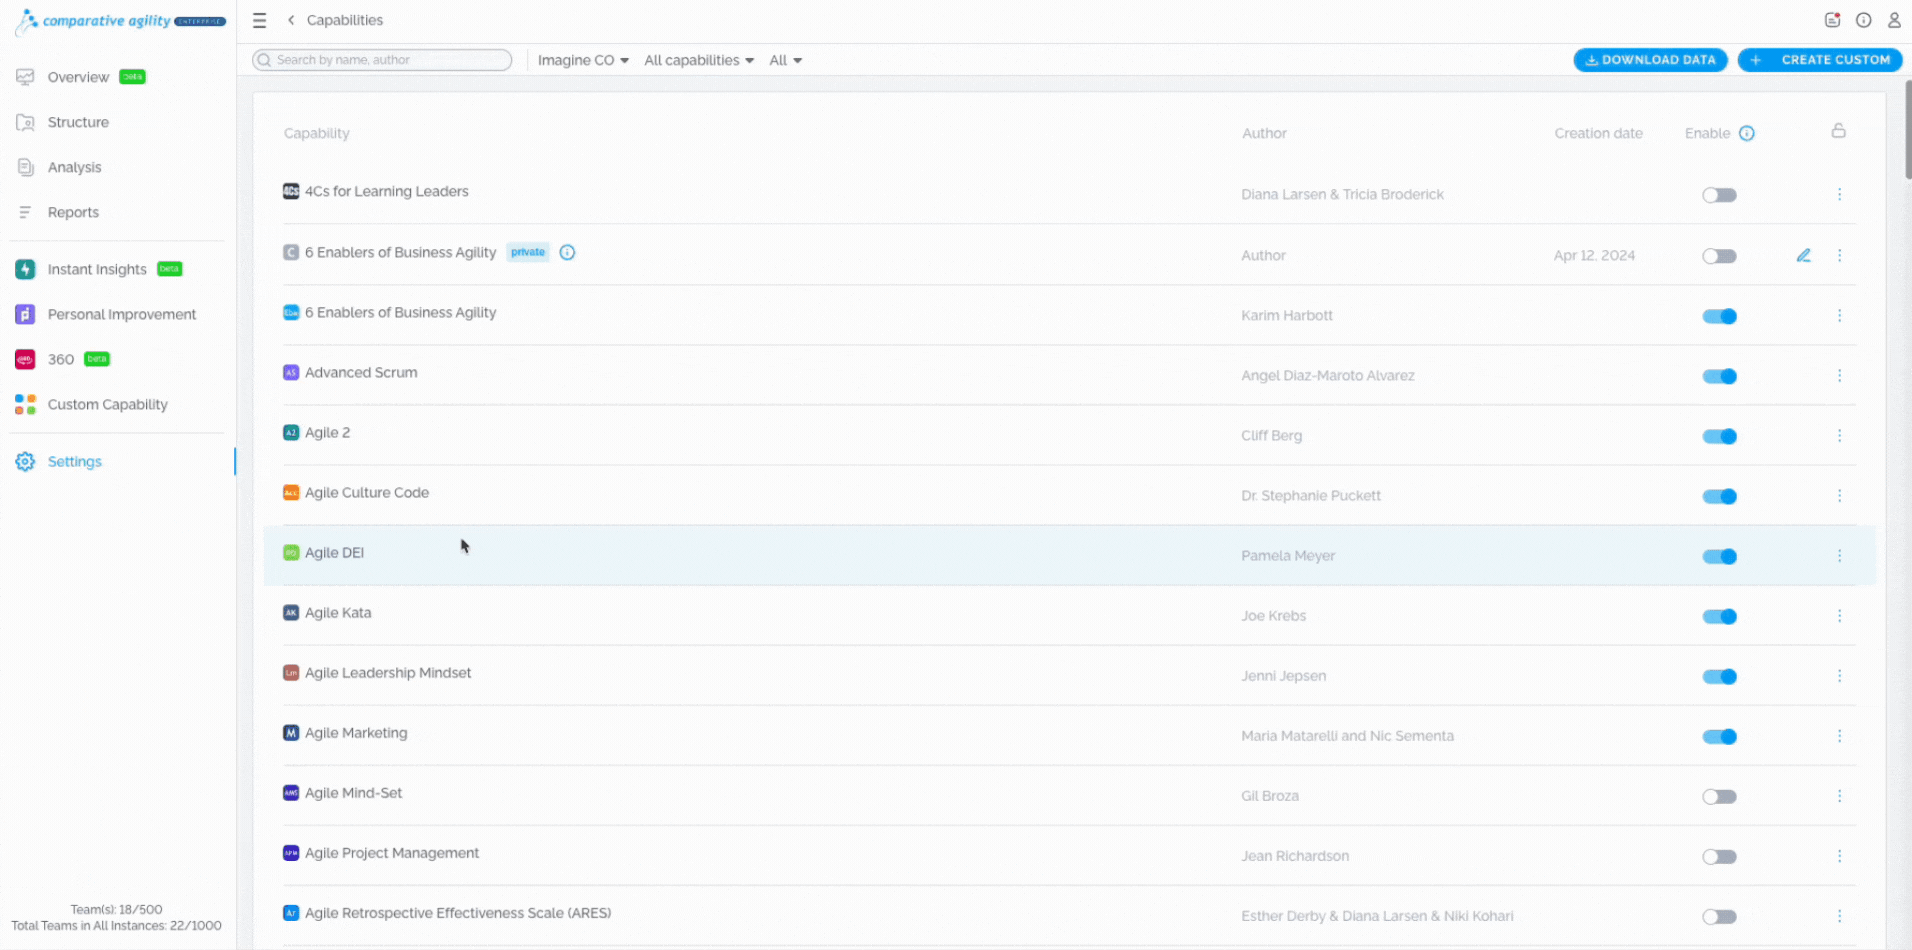
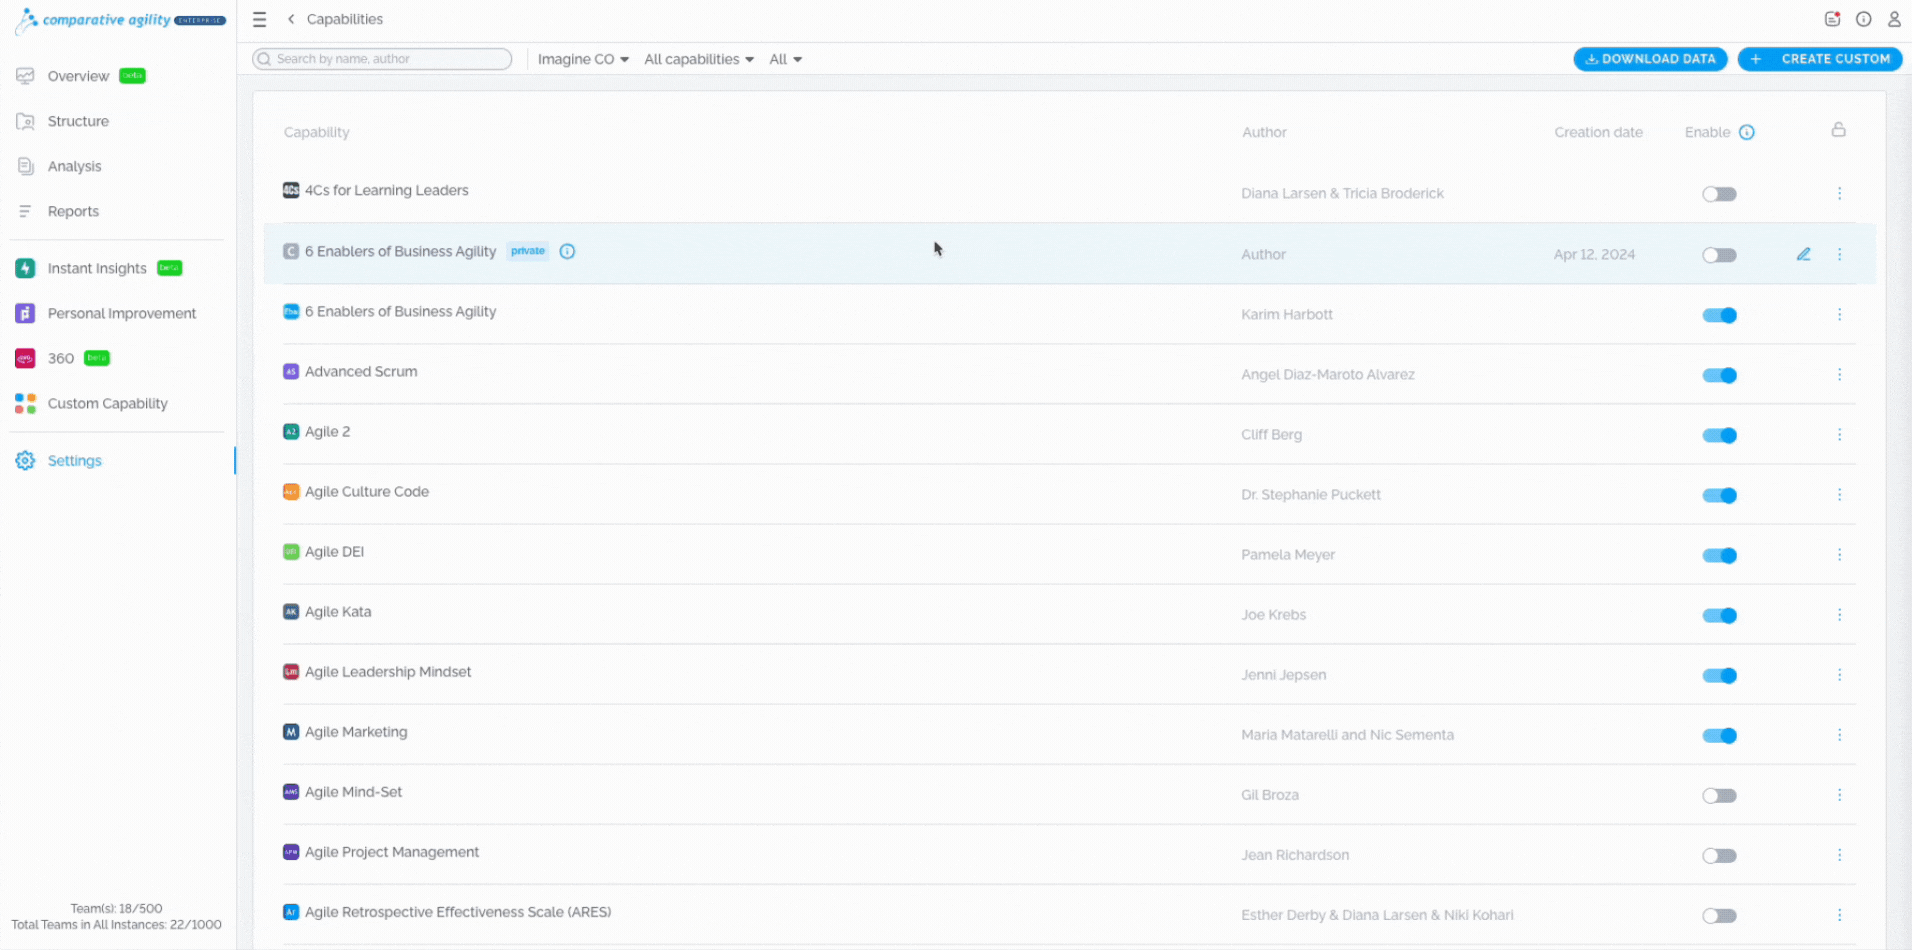
There are three options for incorporating a category into a survey from the Capabilities Screen:
- Click on the three dots next to the capability, then Add data categories, and enable the categories you want to display in the survey.
In the short video below we show you how to enable a category through the option Add Data Categories
- Choose the relevant capability, click on the three dots, Configure Capability, scroll to the Categories section, and enable a category.
The short video below shows you how to enable a category through the option Configure Capability
- Locate a custom capability, click on Edit Capability, go to General, and enable a category.
In the short video below we show you how to enable a category in custom capability through the option Edit Capability
Cloning a category
You have the ability to clone a specific category, and to do that, follow these steps:
- Navigate to the Category you would like to clone
- Click on the Clone option
- Update the Category based on your preferences
- Proceed with the Save button
In the screenshot below we show you how to clone a category
Editing or deleting a category
If you would like to edit a category, navigate to the Data Categorization screen, click on the editing button, and save once ready. However, in case of deleting a category, click on the trash icon, and confirm it.
The short video below shows you how to edit or delete a category
 Note: Please, be aware that once you start collecting responses, you will not be able to modify or delete that category. This helps maintain the accuracy and consistency of your data.
Preview a category
In case you want to preview a category before proceeding with other options available, simply:
- Locate the Category you would like to preview
- Click on the Preview option
In the screenshot below we show you how to preview a category

If you ever need any assistance or have any questions please reach out to our support team at support@comparativeagility.com and we will be more than happy to assist you.